Use Back Lighting
Perhaps the most striking photographic technique for any type of subject is back lighting. If the subject is translucent, such as leaves on a tree, the colour and shape will be enriched by the high contrast. Autumn leaves make a great subject when trying out this technique. Use a telezoom lens to isolate an interesting clump of leaves. A cameras exposure meter will usually take an average reading of the light and dark areas in the image. It should be able to cope with this and render the background very dark, however you may need to use your cameras exposure compensation to underexpose the image between half to a full stop if the subject is slightly too bright. This will also add colour saturation to the subject.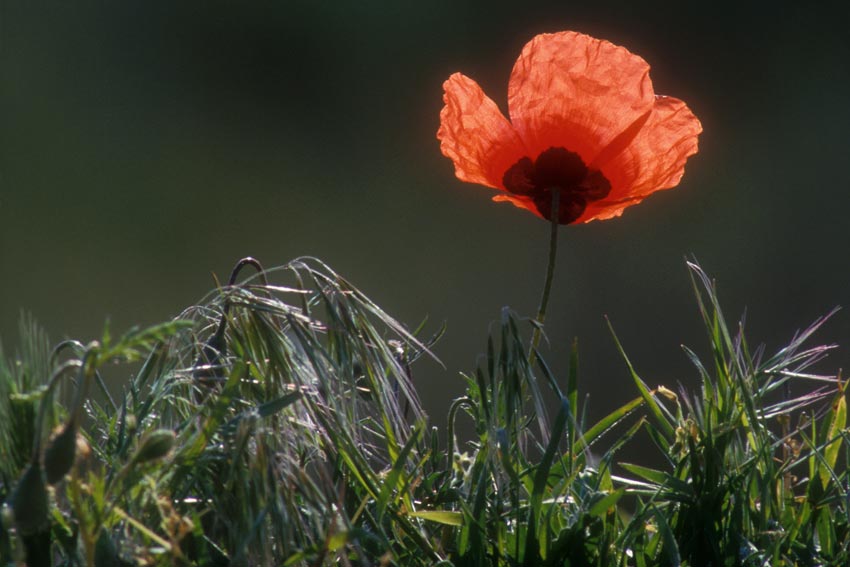
Panning
A technique often used with moving subjects can also be used for static ones. It may seem like a strange technique to use for wildlife photography nut panning can produce some great results. For the best effects, find a colourful subject set against a contrasting background. The contrast in colours is essential to provide plenty of impact. When composing your picture, remember to allow room for an area around the subject as this may well be included in the final image as the camera pans. Select a shutter speed around 1/8th second to begin with, pan the camera in a downwards or sideways action and, as you do, press the shutter release to take the picture. This will blur the subject and also the background. Whether you are shooting film or digital, take several pictures as they will all be different and one will always be better than the others!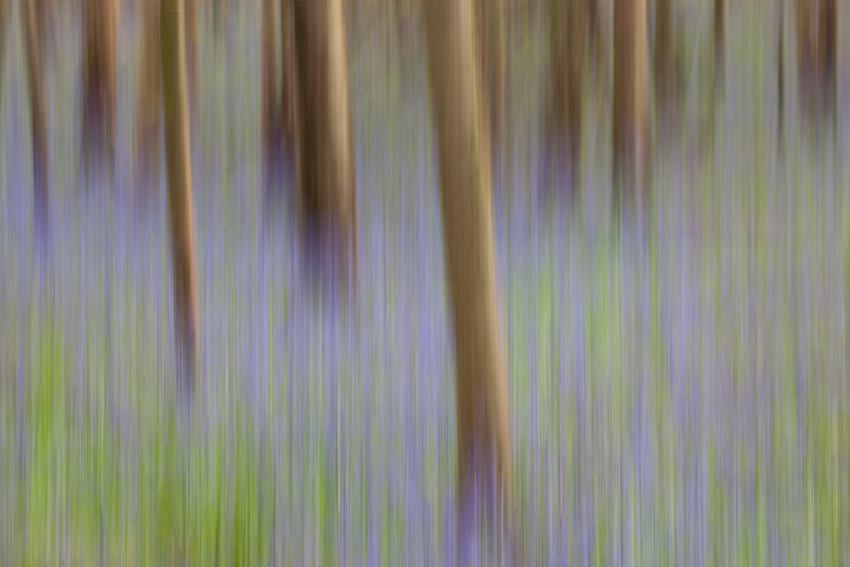
Use A Slow Shutter Speed
On a windy day, creative photography can be had by generally not doing much in the creative department. Simply mount the camera on a tripod, select an interesting subject which is blowing freely in the wind and shoot away. The shutter speed you require will depend on the strength of the wind. In very strong winds, 1/8th to 1/4 second should be enough, but if there's just a light breeze, you may need an exposure of 1 to 2 seconds. The key is not to overdo it - too much movement and the subject will just be a smudge of colour with no shape. It's another technique where lots of pictures are essential as the results will vary considerably.Freeze Your Subject
Floral subjects such as leaves and flower heads covered in frost or trapped in icy puddles make great images. However, if you don't want nature to take its course, you can always create your own frozen still life. Just find a colourful selection of flowers or leaves, place them in a small plastic dish full of water and put it in the freezer overnight. By morning they'll be trapped in a block of ice ready to be photographed. The compositions of the photograph is made when arranging the subject in water so take your time to get this right. To add interest, scratch the surface with sandpaper or drop hot water over the ice to remove ice crystals and crack the ice slightly. Set up your camera equipment prior to removing the ice from the freezer as it thaws surprisingly quickly.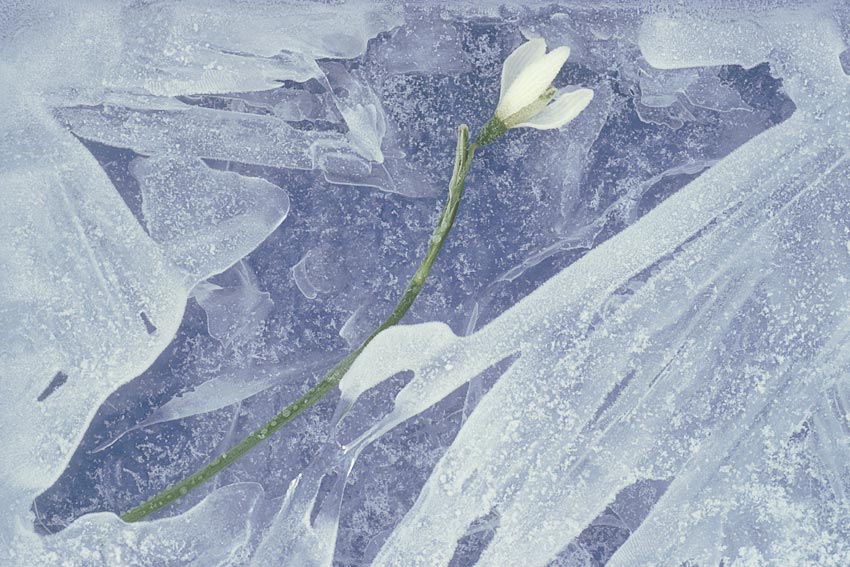
Soft Focus
The technique of soft focus will add a dreamy feel to your pictures, especially if they are backlit or set on a dark background, so the soft focus creates a halo effect around the subject. The easiest way to do this is by using a purpose made soft focus or diffusion filter. Alternatively, create your own by breathing on the front element of the lens or using the multiple exposure technique as mentioned earlier.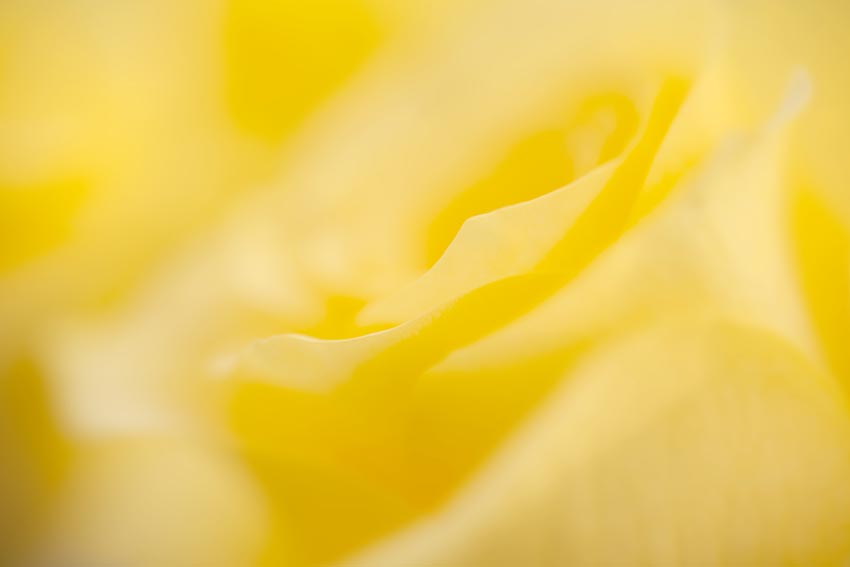
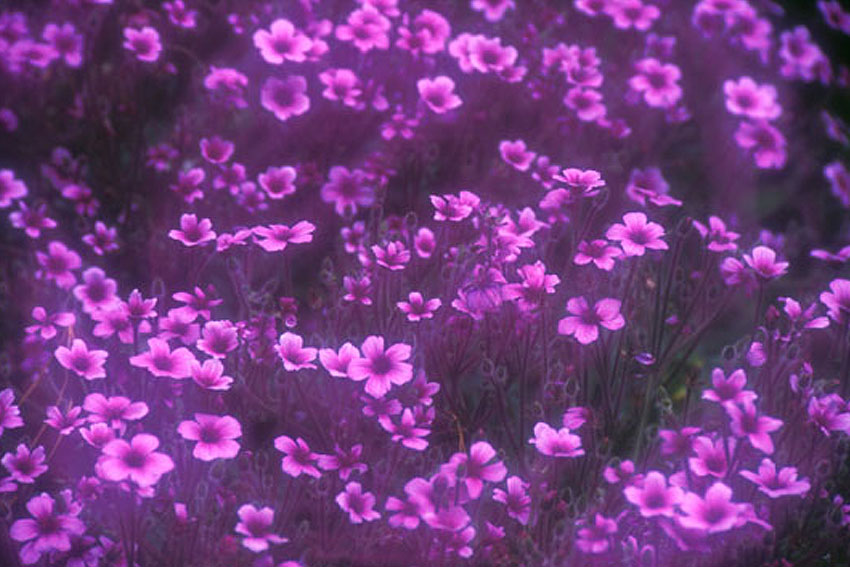
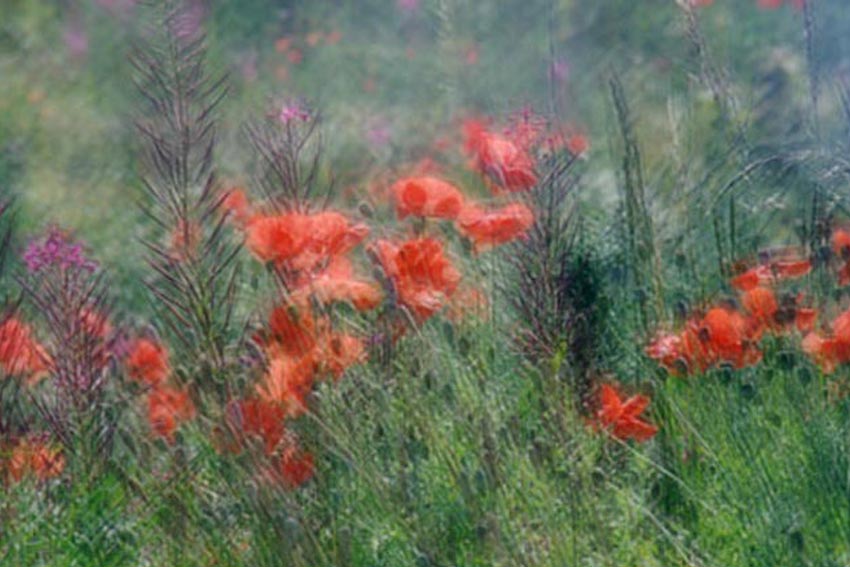
Multiple Exposures
A great technique to try with colourful flowers and foliage, this is where several pictures are recorded on the same frame, creating a montage of overlapping images. A popular technique is to record two exposures at the same time, one sharply exposed and the other slightly out of focus, creating a dreamy soft focus effect. Another technique is to photograph the same subject 3, 4 or 5 times, creating a montage effect. When taking multiple exposures, it's important to underexpose each image as the frame is being exposed to light for a longer period than it would normally. The amount of underexposure depends on haw many images you plan to take. The general rule for exposure is as follows:
2 exposures - Underexpose by 1 stop
3 exposures - Underexpose by 1.5 stops
4 exposures - Underexpose by 2 stops
5 exposures - Underexpose by 2.25 stops
6 exposures - Underexpose by 2.5 stops
Add Water Droplets
Raindrops, dew and condensation add interest to close-ups of flowers and leaves, so early morning or after a rain showertends to be a good time to photograph them outdoors. It is also possible to add your own water drops using a spray bottle if necessary. Side lighting is the most effective way to highlight water droplets, a torch or reflector can be used to control the direction of light quite easily.Use Vaseline
By placing a tiny amount of Vaseline on an old skylight or UV filter and placing that in front of the lens, a soft focus effect can be created like no other purpose built soft focus filter can. By smudging the Vaseline in different directions and over different areas of the filter, completely different effects can be created. Don't put the Vaseline directly on the lens as this could permanently damage the front element.